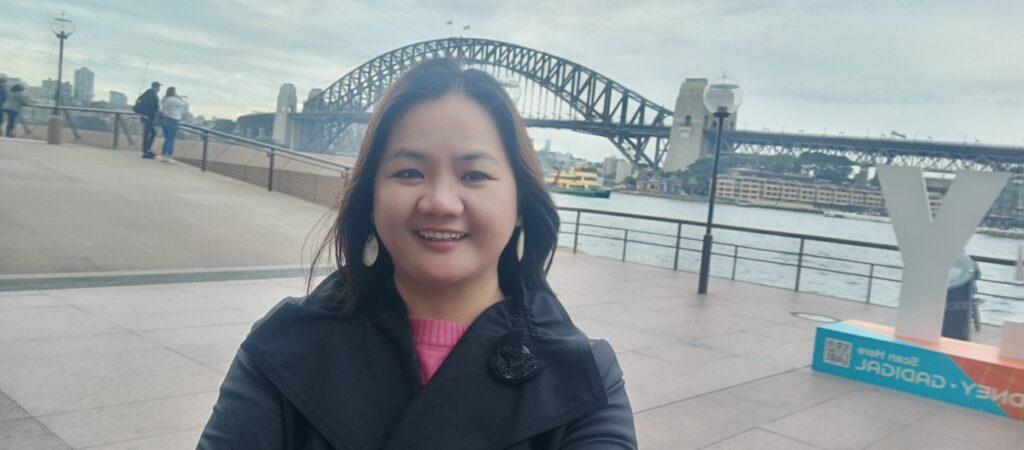


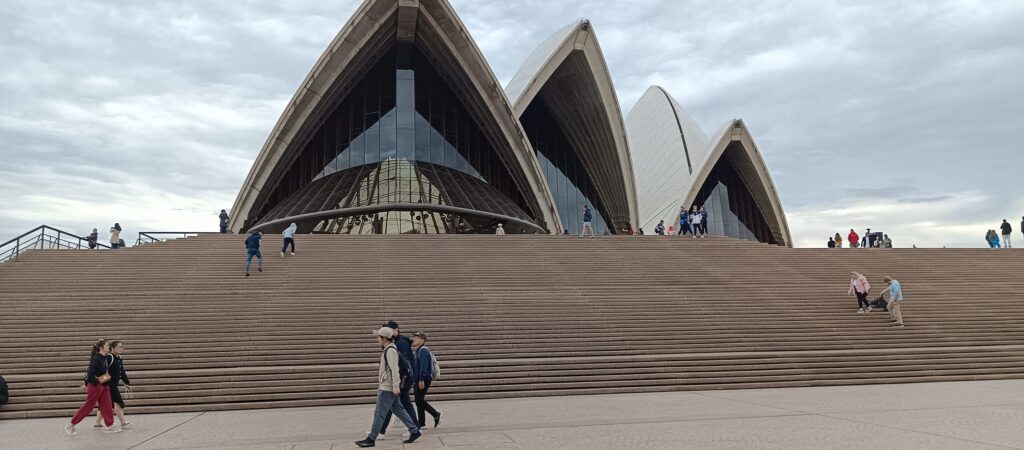
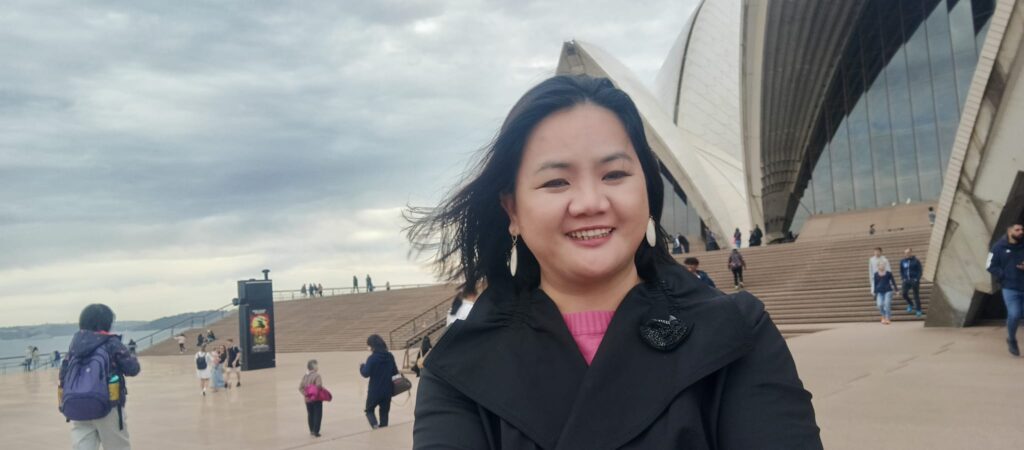



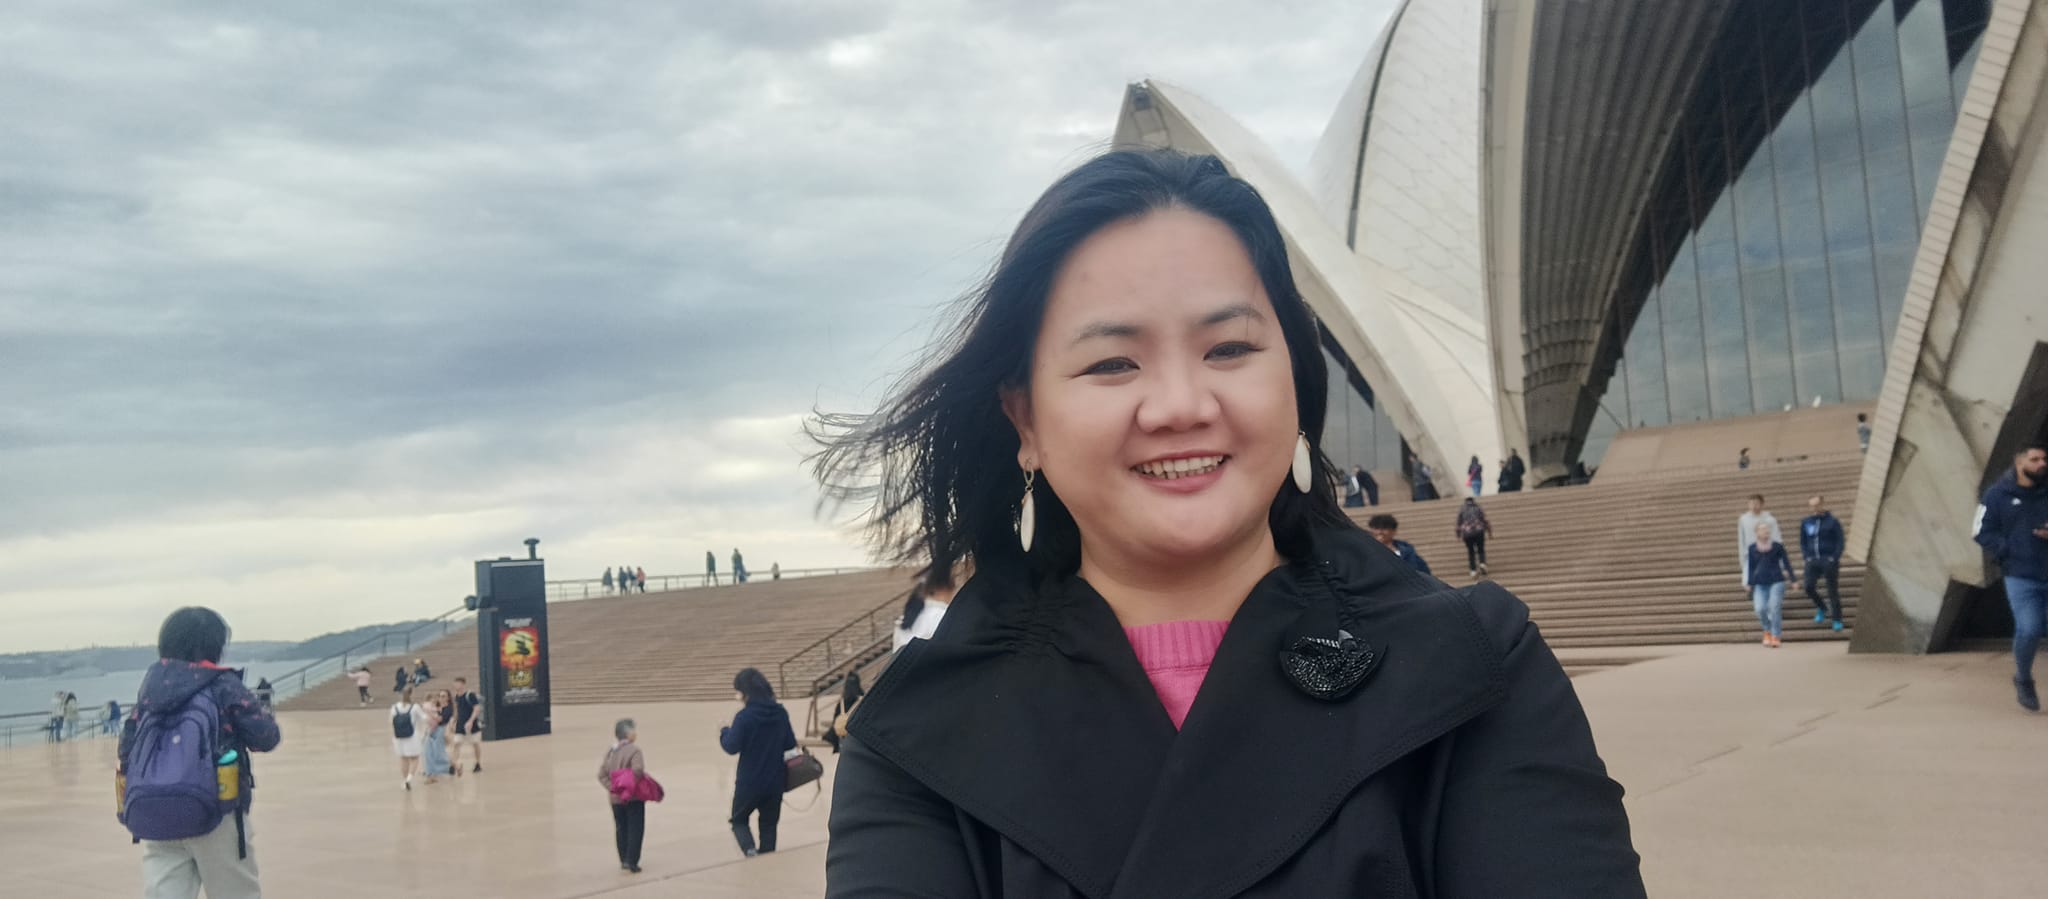
After a decade of dedication and hard work as a virtual assistant, I was rewarded with an incredible gift from my boss: a trip to Sydney, Australia, to attend a professional seminar. I was thrilled by this gesture and excited about the learning opportunities and the adventure that awaited me. Here, I’ll share the steps I followed to successfully secure my Australian visa, a process that might seem daunting but is quite manageable with the right preparation.
Step 1: Determining the Right Visa
The first step was to determine which visa was appropriate for my trip. Since I was heading to Australia to attend a seminar, the Visitor visa (subclass 600) under the Business Visitor stream was the ideal choice. This visa would allow me to participate in the seminar without any hassles.
Step 2: Gathering Necessary Documents
With the type of visa determined, the next step involved gathering all the required documents. This included:
- Passport: Ensuring my passport was valid for at least six months beyond my intended stay in Australia.
- PSA Birth Certificate
- Proof of Seminar Registration: I had an official invitation from the seminar organizers which I needed to include in my visa application.
- My Employer’s Official Letter addressed to the Consul inviting me to attend the seminar and all expenses paid by her.
- Financial Evidence: As proof of my financial stability, I submitted my bank account statements showing sufficient funds to cover my expenses during the trip.
- Employment Evidence: I included my employment contract to show my current job status and the special nature of this trip to attend a seminar.
- Travel History: My previous passports were submitted to demonstrate my travel history, reinforcing my credibility as a traveler who respects visa conditions.
- Accommodation Evidence: I also submitted a receipt for my Airbnb accommodation in Sydney, fully paid for by my boss, which supported my application by confirming my stay arrangements.
- I included a personal email to the consul about my intention to visit Australia. Email me at fbl@febylunag.com if you want a sample copy of the email i made.
- Insurance Certificates: This is not required but I included it in my list of documents.
- Please be aware that all the documents you provide serve as evidence of your intent to return to the Philippines after your visit. These help demonstrate that you have no intention of overstaying your visa and becoming an undocumented migrant. My colleagues who attended the event also included documents like real property titles and car ownership papers. While these are not required, they can serve as additional proof of your intent to return home after your visit.
Step 3: Applying Online
The application process was entirely online through the Australian Department of Home Affairs’ ImmiAccount. I carefully filled out the application form, ensuring all information was accurate to avoid any delays or issues.
Step 4: Paying the Visa Fee
Upon completing the application, I paid the required visa fee online ($190 AUD at the time of my application). It’s crucial to check the most current fee on the official website to ensure the correct amount is paid.
Step 5: Health Examinations and Biometrics
Depending on the applicant’s country and other criteria, health examinations and biometric data submission might be required. In my case, I was instructed to visit a designated center to provide my biometrics, which was a smooth and quick process.
Step 6: Awaiting the Decision
The wait for the visa decision was perhaps the most challenging part. A companion attending the same seminar received their decision just two days after application, whereas for me, it took a long 14 days. It was a period filled with anticipation and frequent email checks. My boss had already bought the plane tickets to ensure everything was set once the visa was approved. However, if you are planning this trip, I would advise against buying the ticket until your visa is approved. The key during this waiting period is patience.
Step 7: Receiving the Visa
Finally, I received the notification that my visa was granted! It included all the necessary details such as the visa grant number, the validity period, and the conditions attached to the visa.
Step 8: Preparing for the Trip
With my visa approved, the next steps involved preparing for the actual trip. I made sure to carry copies of all my documents, including the visa grant notice, which I might need to present upon arrival in Australia.
Dealing with Philippine Immigration
In Philippine immigration, officers can be quite strict, so it’s crucial to bring all the documents used for the visa application. Neatly arrange all your documents so in case they ask for anything, you can readily present it. I was asked to present my work contract at the immigration although my visa has been approved already. Additionally, I prepared a detailed itinerary of my 10-day stay in Australia, outlining daily activities from my arrival to departure. While not required, this was added as an extra document to enhance my credibility.
Managing Finances During the Trip
Regarding finances, I carried 1000 AUD as pocket money, in case the Philippine immigration officers asked for proof of sufficient funds. However, in Australia, you can use credit and debit cards almost everywhere, so you don’t necessarily need cash if you have the cards. It’s all up to personal preference, but it’s good to have some local currency for smaller expenses or places that might not accept cards.
Travel Tips: Packing for the Trip
Last year, I traveled to Australia and stayed for 10 days, although I had a visa for a 3-month period. One practical tip I learned was to use the largest possible suitcase. This became particularly important when I started shopping for pasalubongs (gifts for friends and family back home). I realized I didn’t have enough space to accommodate all the items I wanted to bring back. Planning for extra luggage space is something you should consider if you plan to shop during your trip.
Important Rule: Honesty is Key
One of the most important rules in applying for a visa is honesty. Always provide true and accurate information in your application. This not only helps in smooth processing but also ensures that you face no legal issues later on.
The entire process taught me a lot about patience, attention to detail, and the importance of thorough preparation. I am immensely grateful for this opportunity and made the most of my seminar in Sydney. This trip is not just a professional development opportunity but a celebration of ten years of growth and hard work.
#Travel to Australia #Australian Visa Application #Business Travel #Seminar Attendance #Visitor Visa Subclass 600 #Business Visitor Stream #Virtual Assistant Travels #International Seminars #Travel Documentation #Preparing for International Travel #Filipino VA visa to Australia






Leave a Reply